Adito (formerly OpenVPN-ALS) is an amazingly wonderful piece of software. Honestly I can’t figure out why more FOSS advocates don’t pick up the pieces of the project and continue to develop on it. I guess largely it does what it’s supposed to do and doesn’t need much in the way of updating, though it would be nice if the plugin repositories were still up and running and such.
That said, I run Adito in 3 locations. For 2 of my locations the self-signed server certificate Adito creates and installs during the setup wizard is adequate. For 1 location though I prefer to offer the appearance of a truly secure and trusted site.
I’ll start by sharing the links I had to visit and inquire with to make all this work in case my write-up falls short for anyone reading it:
Discussion Topic on Sourceforge page
Instructions and discussion – Import private key and certificate into Java Key Store from agentbob.info
Github page for importkey tool that I used
I perused many many other pages, but these 3 gave me all the parts I needed to complete my task.
The server tools you’ll need will be openssl and jdk which you’ll have as a prerequisite to adito.
My installation is performed on CentOS 6.3 with Java jdk 1.7.0 u13. If any of the command I tell you to issue below don’t work it’s probably because your path is broken to java binaries.
It helps to create a working directory on your server so that all your files are glommed together in one place and not mixed in with other junk. Before you finish there will be quite a collection.
Step one – create your private key and certificate request:
openssl req -out fqdn.csr -new -newkey rsa:2048 -nodes -keyout fqdn.key
As a sidenote, if you compare this documentation with that of the folks on the Sourceforge discussion bored you’ll see that I skipped one of their steps. I’m fairly certain the `openssl req -x509` business is unnecessary. If someone can prove me wrong please let me know and I’ll update this documentation to reflect that.
Step two – submit your CSR (fqdn.csr from above) to the company you wish to issue you a certificate, follow their instructions to get your 3rd party trusted cert. In my case I was provided with 3 certificates in return, the one signed against my CSR, an intermediate and a root. Making note of what they need bundled together to form a valid chain is going to be important, and it will be different for each company. Put your fqdn.crt, intermediate.crt and root.crt into your working folder.
Step three – Convert all of your PEM formatted .crt files into DER format:
for cert in fqdn.crt intermediate.crt root.crt; do openssl x509 -in $cert -inform PEM -out cert.der -outform DER; done
Step four – Convert your private key to DER format as well:
openssl pkcs8 -topk8 -nocrypt -in fqdn.key -inform PEM -out fqdn.key.der -outform DER
Step five – cat the certificates together. I’m not sure if order matters, but I did it from my cert back to the root and that worked:
cat fqdn.crt.der intermediate.crt.der root.crt.der > fqdn.bundle.crt.der
Step six – Copy the ImportKey.java source to your machine. You can just click on the link either here or from the agentbob.info link above and copy/paste the source into a text editor on your server. I had to make a change in the source (following the advice of somebody else who had a similar problem and posted the solution in the agentbob.info article’s comments) in order for the tool to work with chained/bundled certificates. I’ve created a diff to use to patch said source, you can also just copy and paste it into your text editor.
patch ImportKey.java ImportKey.java.diff
Step seven – Compile and run the ImportKey application:
javac ImportKey.java
java ImportKey fqdn.key.der fqdn.bundle.crt.der
Note that the resulting keystore file is going to be in your home directory, so if you’re running as root it will be /root/keystore.ImportKey. It has the alias “importkey” as well as the keystore password “importkey”; CHANGE IT:
Step eight – change the keystore password for your keystore:
keytool -importkeystore -srckeystore /root/keystore.ImportKey -destkeystore importkey.jks
When running the above command you’ll be asked to issue the new keystore password – do it. It will eventually ask you for the source keystore password, as mentioned above that password is “importkey”.
If your adito server doesn’t have a web browser you need to get the file to a machine that does have a web browser, as it’s through the web interface that we’ll be importing the newly created keystore – do that now.
Step nine – rerun `ant install`from your adito installation directory, if your adito server is currently running, stop it:
cd /opt/adito0.9.1
/etc/init.d/adito stop
ant install
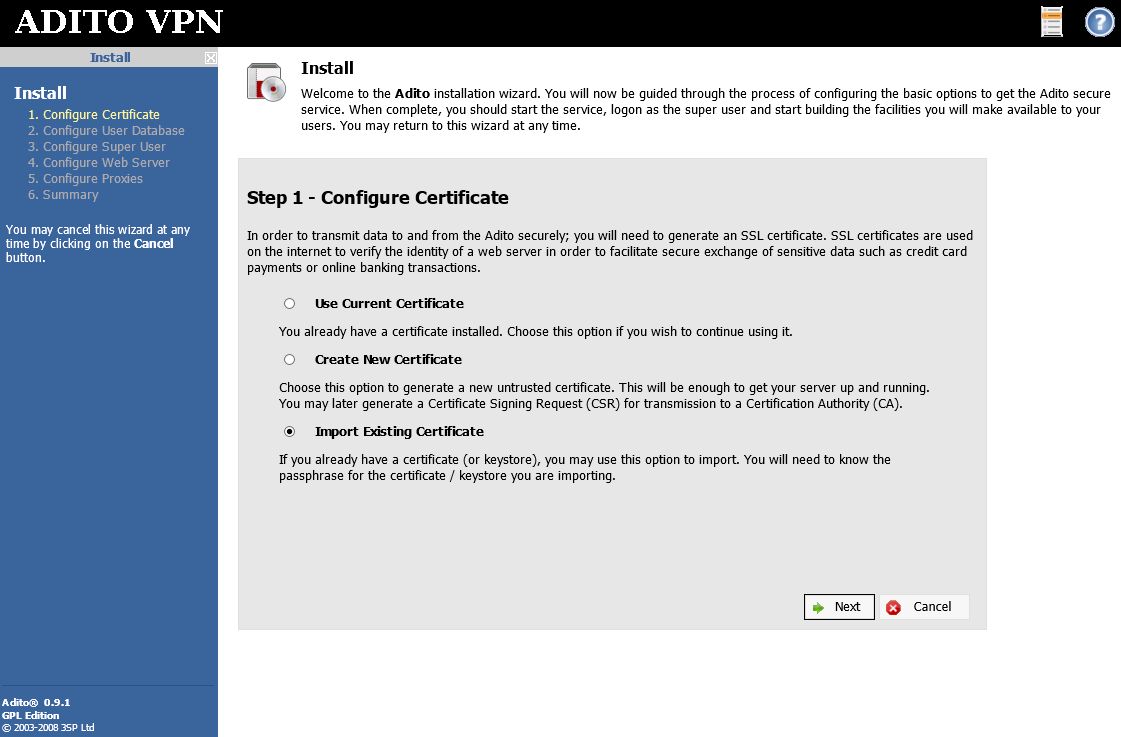
Step nine, part 2 – When you get to the bit about “Starting installation wizard……….Point your browser to http://aditoserver:28080″ do just that. There will be 2 screens to be concerned with:
Select “Import Existing Certificate” on the first screen.
Fill in all the pertinent information on the following screen. (ignore my typo please)
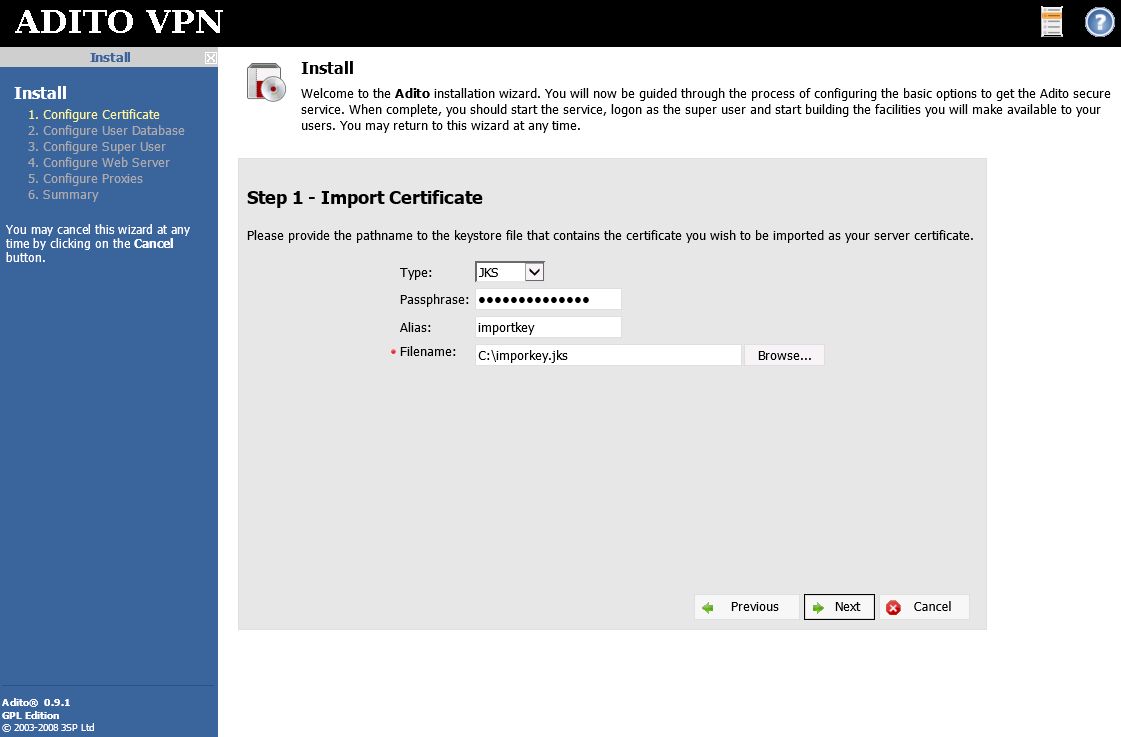
The remaining install screens should remember your settings from the prior install. If this is your first time running `ant install`, configure according to your needs.
When finished issue an adito start command:
/etc/init.d/adito start
And you should be finished. Open your adito site in a browser and verify your new certificate is installed and being presented.