Tag Archives: KVM

Oracle Linux 7 – KVM Console is broken, OCFS2 kicks ass though

This post was originally written for spiceworks, so ignore the formatting shortcomings and such. I have chosen to just throw it on my blog since I’ve found a valid workaround to the problem, that being use OL6.

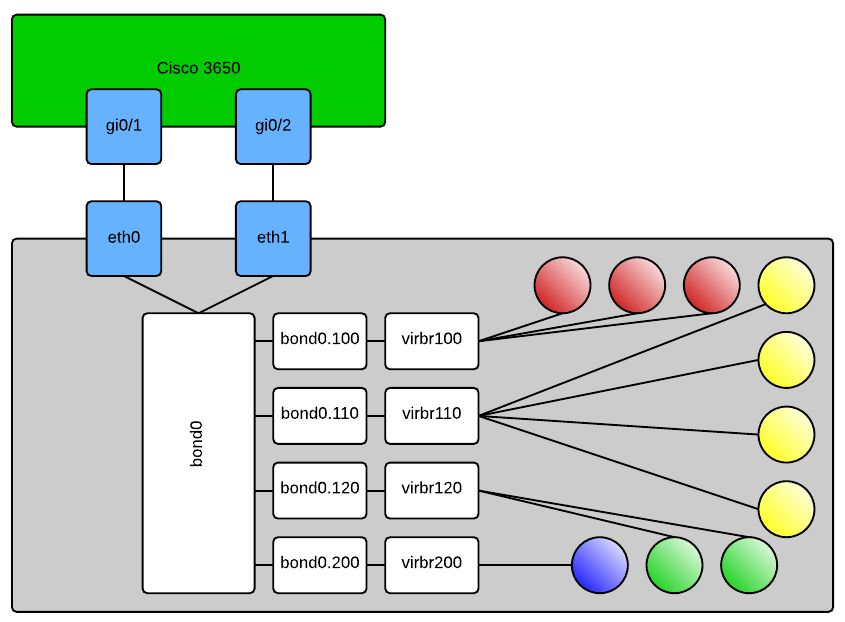
I have a farm of KVM servers running CentOS 7.2. I have procured some hardware that is best utilized with a cluster aware filesystem such as GFS2 or OCFS2. I started fiddling with GFS2, got a functional cluster on some spare hosts and everything worked – poorly. I was going from NFS on a LACP bond assembled from gigabit Ethernet to GFS2 on a functioning MPIO with 4 gigabit Ethernet links. I tested with XFS and the performance was as expected – nominal number of IOPS based upon number of spindles and ~450MB/s of read and write throughput. Moving to GFS2 the IOPS and throughput were both there, but also some latency spikes of up to 30 seconds which is obviously unacceptable. I tried tuning for awhile and couldn’t massage out the bugs.

I crapped that setup out and installed Oracle Linux to try O2CB/OCFS2. Setup was great and performance looks vastly improved. The problem with the configuration was that KVM domains seem to be fully functional, but nothing I’ve tried will allow me to see the consoles of the running domain. I start a domain and look at a console (tried virt-viewer, virt-manager on Linux, and the builtin Gnome Remote client) and all I see is a black screen. I also tried VNC as an alternative, something I’ve never done so I don’t know if that should *just work* but it didn’t either. Lastly I tried a few different video modes, qxl, vga, cirris, nothing changed anything. The only logs I know of to look at are `/var/log/libvirt/qemu/domain.log` – which when trying to connect to the domain look like this:

    main_channel_link: add main channel client
    main_channel_handle_parsed: net test: latency 12.194000 ms, bitrate 146799512 bps (139.998924 Mbps)
    red_dispatcher_set_cursor_peer:
    inputs_connect: inputs channel client create

I compared that to a good connection on another machine – it looks like this:

    main_channel_link: add main channel client
    main_channel_handle_parsed: net test: latency 3.128000 ms, bitrate 69543957 bps (66.322286 Mbps)
    red_dispatcher_set_cursor_peer:
    inputs_connect: inputs channel client create

To complicate but fix things I was hoping reinstalling and using CentOS 7.2 which I’m more familiar with and has obviously all different packages would solve the issue. I did just that – fresh CentOS install and then installed nothing but UEK and OCFS2 tools so I could proceed with libvirt/KVM tools I knew that worked, but continue testing the OCFS2 filesystem:

    [root@kvmhost images]# yum list installed | grep ol7
    kernel-uek.x86_64                     3.8.13-118.14.1.el7uek         @ol7_UEKR3
    kernel-uek-devel.x86_64               3.8.13-118.14.1.el7uek         @ol7_UEKR3
    kernel-uek-firmware.noarch            3.8.13-118.14.1.el7uek         @ol7_UEKR3
    libdtrace-ctf.x86_64                  0.5.0-2.el7                    @ol7_UEKR3
    ocfs2-tools.x86_64                    1.8.6-7.el7                    @ol7_latest
    ocfs2-tools-devel.x86_64              1.8.6-7.el7                    @ol7_latest

So the interesting takeaway from this configuration is that it worked no differently when using UEK, but if I boot into the Base CentOS kernel it works fine. To be clear … I boot into the system choosing `CentOS Linux (3.8.13-118.14.1.el7uek.x86_64) 7 (Core)` at the prompt and the problem persists, but if I reboot the system and choose `CentOS Linux (3.10.0-327.el7.x86_64) 7 (Core)` then things work proper.

Reading just that, one would assume the problem is simply a situation where the userland components were compiled with other kernel libraries and find a new problem to think about – however I have another system running that was installed from an OL7 iso and never had anything but OL7 packages instaled exhibiting exact behavior.

The only other place I could think to look for anything useful was the virt-manager logs. I installed enough X11 components so that I could get on it graphically and make some local logs from that app, here is what came from that:

Not working

    [Sat, 05 Nov 2016 14:55:04 virt-manager 15862] DEBUG (details:602) Showing VM details: 
    [Sat, 05 Nov 2016 14:55:04 virt-manager 15862] DEBUG (engine:357) window counter incremented to 2
    [Sat, 05 Nov 2016 14:55:04 virt-manager 15862] DEBUG (console:650) Starting connect process for proto=spice trans= connhost=127.0.0.1 connuser= connport= gaddr=127.0.0.1 gport=5900 gtlsport=None gsocket=None
    [Sat, 05 Nov 2016 14:55:04 virt-manager 15862] DEBUG (console:771) Viewer connected

Working:

    [Sat, 05 Nov 2016 15:06:49 virt-manager 3917] DEBUG (details:602) Showing VM details: 
    [Sat, 05 Nov 2016 15:06:49 virt-manager 3917] DEBUG (engine:357) window counter incremented to 2
    [Sat, 05 Nov 2016 15:06:49 virt-manager 3917] DEBUG (console:650) Starting connect process for proto=spice trans= connhost=127.0.0.1 connuser= connport= gaddr=127.0.0.1 gport=5900 gtlsport=None gsocket=None
    [Sat, 05 Nov 2016 15:06:49 virt-manager 3917] DEBUG (console:771) Viewer connected

Googling ‘Spice blank screen UEK’ yields nothing helpful that I can see so for posterity’s sake and perhaps in hope that someone else will have the problem and *CAN* indeed file a bug with Oracle, this was my experience.

OpenIndiana ZFS backed iSCSI SAN – Resize Volumes

I banged my head for a couple minutes. Resizing the ZFS is easy peasy right?

root@oi-storage:~# zfs get -Hp volsize pool0/kvm/kvmdomain
 pool0/kvm/kvmdomain       volsize 42949672960     local

Well of course that isn’t big enough…

root@oi-storage:~# zfs set volsize=42956488704 pool0/kvm/kvmdomain

No problemo, now just rescan on the Linux side right?

[root@linux-hv ~]# iscsiadm -m node --targetname iqn.2010-09.org.openindiana:02:6640d696-90b3-6709-804e-da40a0ffffff -R
[root@linux-hv ~]# dmesg
  ...
[1329034.807613] sd 4:0:0:0: [sdc] 83886080 512-byte logical blocks: (42.9 GB/40.0 GiB)
  ...

Hmm… that didn’t do it (512 * 83886080 = 42949672960). I banged around a little bit and found what I was missing:

root@oi-storage:~# sbdadm modify-lu -s 42956488704 600144f0340b80c719ff570bb7460001

Then the Linux rescan yielded more useful results:

[root@linux-hv ~]# dmesg
  ...
[1340836.125483] sdc: detected capacity change from 42949672960 to 42956488704

KVM Networking, bond & bridge with VLANs

I never found a complete tutorial on setting up KVM networking the way I wanted. One thing that VMware has everyone beat on is simple and effective network configurations. KVM hosts can be just as good, but it won’t draw the pictures for you so it’s difficult to visualize what’s going on and troubleshoot it when things are going wrong.

This write-up should give you all the information you need to create a robust, bonded and VLAN aware “virtual switch” configuration on your KVM host. My config uses all native Linux networking constructs. It does not make use of the newer “team” method of interface aggregation and it definitely does not make use of Network Manager; as a matter of fact unless you have express need for it I suggest you uninstall Network Manager as it can cause grief in your configuration. As with all my other KVM related write-ups, this is based on EL7 type hosts, CentOS 7.0 in my case. If you wish to adapt it for other flavors of Linux this may still give you a good starting point.

Here is an approximation of what it should look like when you’re done:


In case it’s not obvious, the shaded balls are your KVM domains. When configuring your new domains you will select the “Specify shared device name” option in virt-manager and type out the bridge you want the domain connected to. Or alternatively if you’re hand crafting your domain’s XML file it will look like this:

<interface type='bridge'>
  <mac address='ff:ff:ff:ff:ff:ff'/>
  <source bridge='virbr120'/>
  <target dev='vnet0'/>
  <model type='rtl8139'/>
  <alias name='net0'/>
  <address type='pci' domain='0x0000' bus='0x00' slot='0x03' function='0x0' />
</interface>

This would connect your VM to VLAN120 per my config above. Obviously many other things in this XML are domain and environment specific so don’t just try to copy and paste that and expect your machine to work, if you’re hand editing XML – know what you’re doing. Some of the other configs that you’ll need are as follows:

Cisco 3650:

sw# config t
sw(config)# interface range gi0/1,gi0/2
sw(config-if-range)# switchport trunk encapsulation dot1q
sw(config-if-range)# switchport trunk allowed vlan 100,110,120,200
sw(config-if-range)# switchport mode trunk
sw(config-if-range)# channel-group 1 mode on
sw(config-if-range)# exit
sw(config)# interface po1
sw(config-if)# switchport trunk encapsulation dot1q
sw(config-if)# switchport trunk allowed vlan 100,110,120,200
sw(config-if)# switchport mode trunk
sw(config-if)# description "KVM Server 1 VMNetwork bonded and trunked"

On your KVM host:

/etc/modprobe.d/bond0.conf:

alias bond0 bonding

/etc/sysconfig/network-scripts/ifcfg-eth0:

DEVICE=eth0
ONBOOT=yes
NM_CONTROLLED=no
BOOTPROTO=none
USERCTL=no
MASTER=bond0
SLAVE=yes

Make eth1 or whatever your 2nd adapter look similar, obviously change the DEVICE= line

/etc/sysconfig/network-scripts/ifcfg-bond0:

DEVICE=bond0
NM_CONTROLLED=no
ONBOOT=yes
BOOTPROTO=none
USERCTL=no
BONDING_OPTS="miimon=100 mode=4 lacp_rate=1"

/etc/sysconfig/network-scripts/ifcfg-bond0.100:

DEVICE=bond0.100
ONBOOT=yes
VLAN=yes
BOOTPROTO=none
NM_CONTROLLED=no
BRIDGE=virbr100

Like the physical interfaces, you can copy/paste this for the other VLANs you want to include in your configuration, you will have to change the DEVICE= line and BRIDGE= line in each separate config file.

/etc/sysconfig/network-scripts/ifcfg-virbr100:

DEVICE=virbr100
ONBOOT=YES
TYPE=Bridge
DELAY=0
BOOTPROTO=none

This one is another copy/paste candidate to bridge you into any of your VLAN interfaces, this time the only line you’ll need to modify as you copy and paste is DEVICE=. If you’d like you can add an IP address, subnet mask, etc to any of the bridge interfaces and then use that to connect to your KVM server. For me I prefer to have dedicated out-of-band interfaces for management purposes so all of my bridges are without layer 3 termination.

That’s it.

CentOS 7, Live Block Migration, getting the right qemu binary built and installed

You were all excited because you read my other post, but you didn’t pay attention to the part about needing a special version of qemu-kvm and were saddened to be hit with this:

error: unsupported configuration: block copy is not supported with this QEMU binary

Don’t fret, I’ll help you get where you want to go. Do everything as root, and don’t do it on a production system … duh

Get your development environment ready:

# yum install -y rpm-build redhat-rpm-config make gcc
# mkdir -p ~/rpmbuild/{BUILD,RPMS,SOURCES,SPECS,SRPMS}
# echo '%_topdir %(echo $HOME)/rpmbuild' > ~/.rpmmacros

Get your source rpm and prerequisites – note that while this is current as of this posting, things could change. Up to you to handle keeping yourself current:

# wget http://ftp.redhat.com/redhat/linux/enterprise/6Server/en/RHEV/SRPMS/qemu-kvm-rhev-1.5.3-60.el7_0.7.src.rpm
# yum install -y zlib-devel SDL-devel texi2html gnutls-devel cyrus-sasl-devel libtool libaio-devel pciutils-devel pulseaudio-libs-devel libiscsi-devel libattr-devel libusbx-devel usbredir-devel texinfo spice-protocol spice-server-devel libseccomp-devel libcurl-devel glusterfs-api-devel glusterfs-devel systemtap systemtap-sdt-devel nss-devel libjpeg-devel libpng-devel libuuid-devel bluez-libs-devel brlapi-devel check-devel libcap-devel pixman-devel librdmacm-devel iasl ncurses-devel

Build your binary:

# rpmbuild --rebuild qemu-kvm-rhev-1.5.3-60.el7_0.7.src.rpm

Install your binary and its dependencies. Enjoy blockcopy funcitonality:

# yum install -y rpmbuild/RPMS/x86_64/*